- 1 How to Use the HTML Image Tag Correctly in 2025 for Better SEO and UX
- 2 What is HTML image tag
- 3 Important Attributes of the HTML <img> Tag
- 4 7 Important Attributes of HTML <img> Tag (With Examples and Images)
- 5 Other Commonly Used HTML <img> Tag Attributes (With Examples & Uses)
- 6 How to Use the HTML Tag: Step-by-Step Example
- 7 Which Browsers Support the HTML Image Tag
- 8 Supported Image Formats in the HTML Tag
- 9 How to Add an Image in HTML Using Visual Studio Code
- 10 How to Set Full Screen Background Image in HTML
- 11 Set Image Position and Size Using CSS Background
- 12 Best Practices for HTML Image Optimization and Error Handling
- 13 Making an Image Clickable Using HTML Anchor Tag
- 14 Fixing Broken HTML Image and Anchor Links
- 15 Adding a Website Icon (Favicon) Using HTML
- 16 HTML Image Tag FAQs: Everything You Need to Know
- 17 conclusion
How to Use the HTML Image Tag Correctly in 2025 for Better SEO and UX
What is HTML image tag
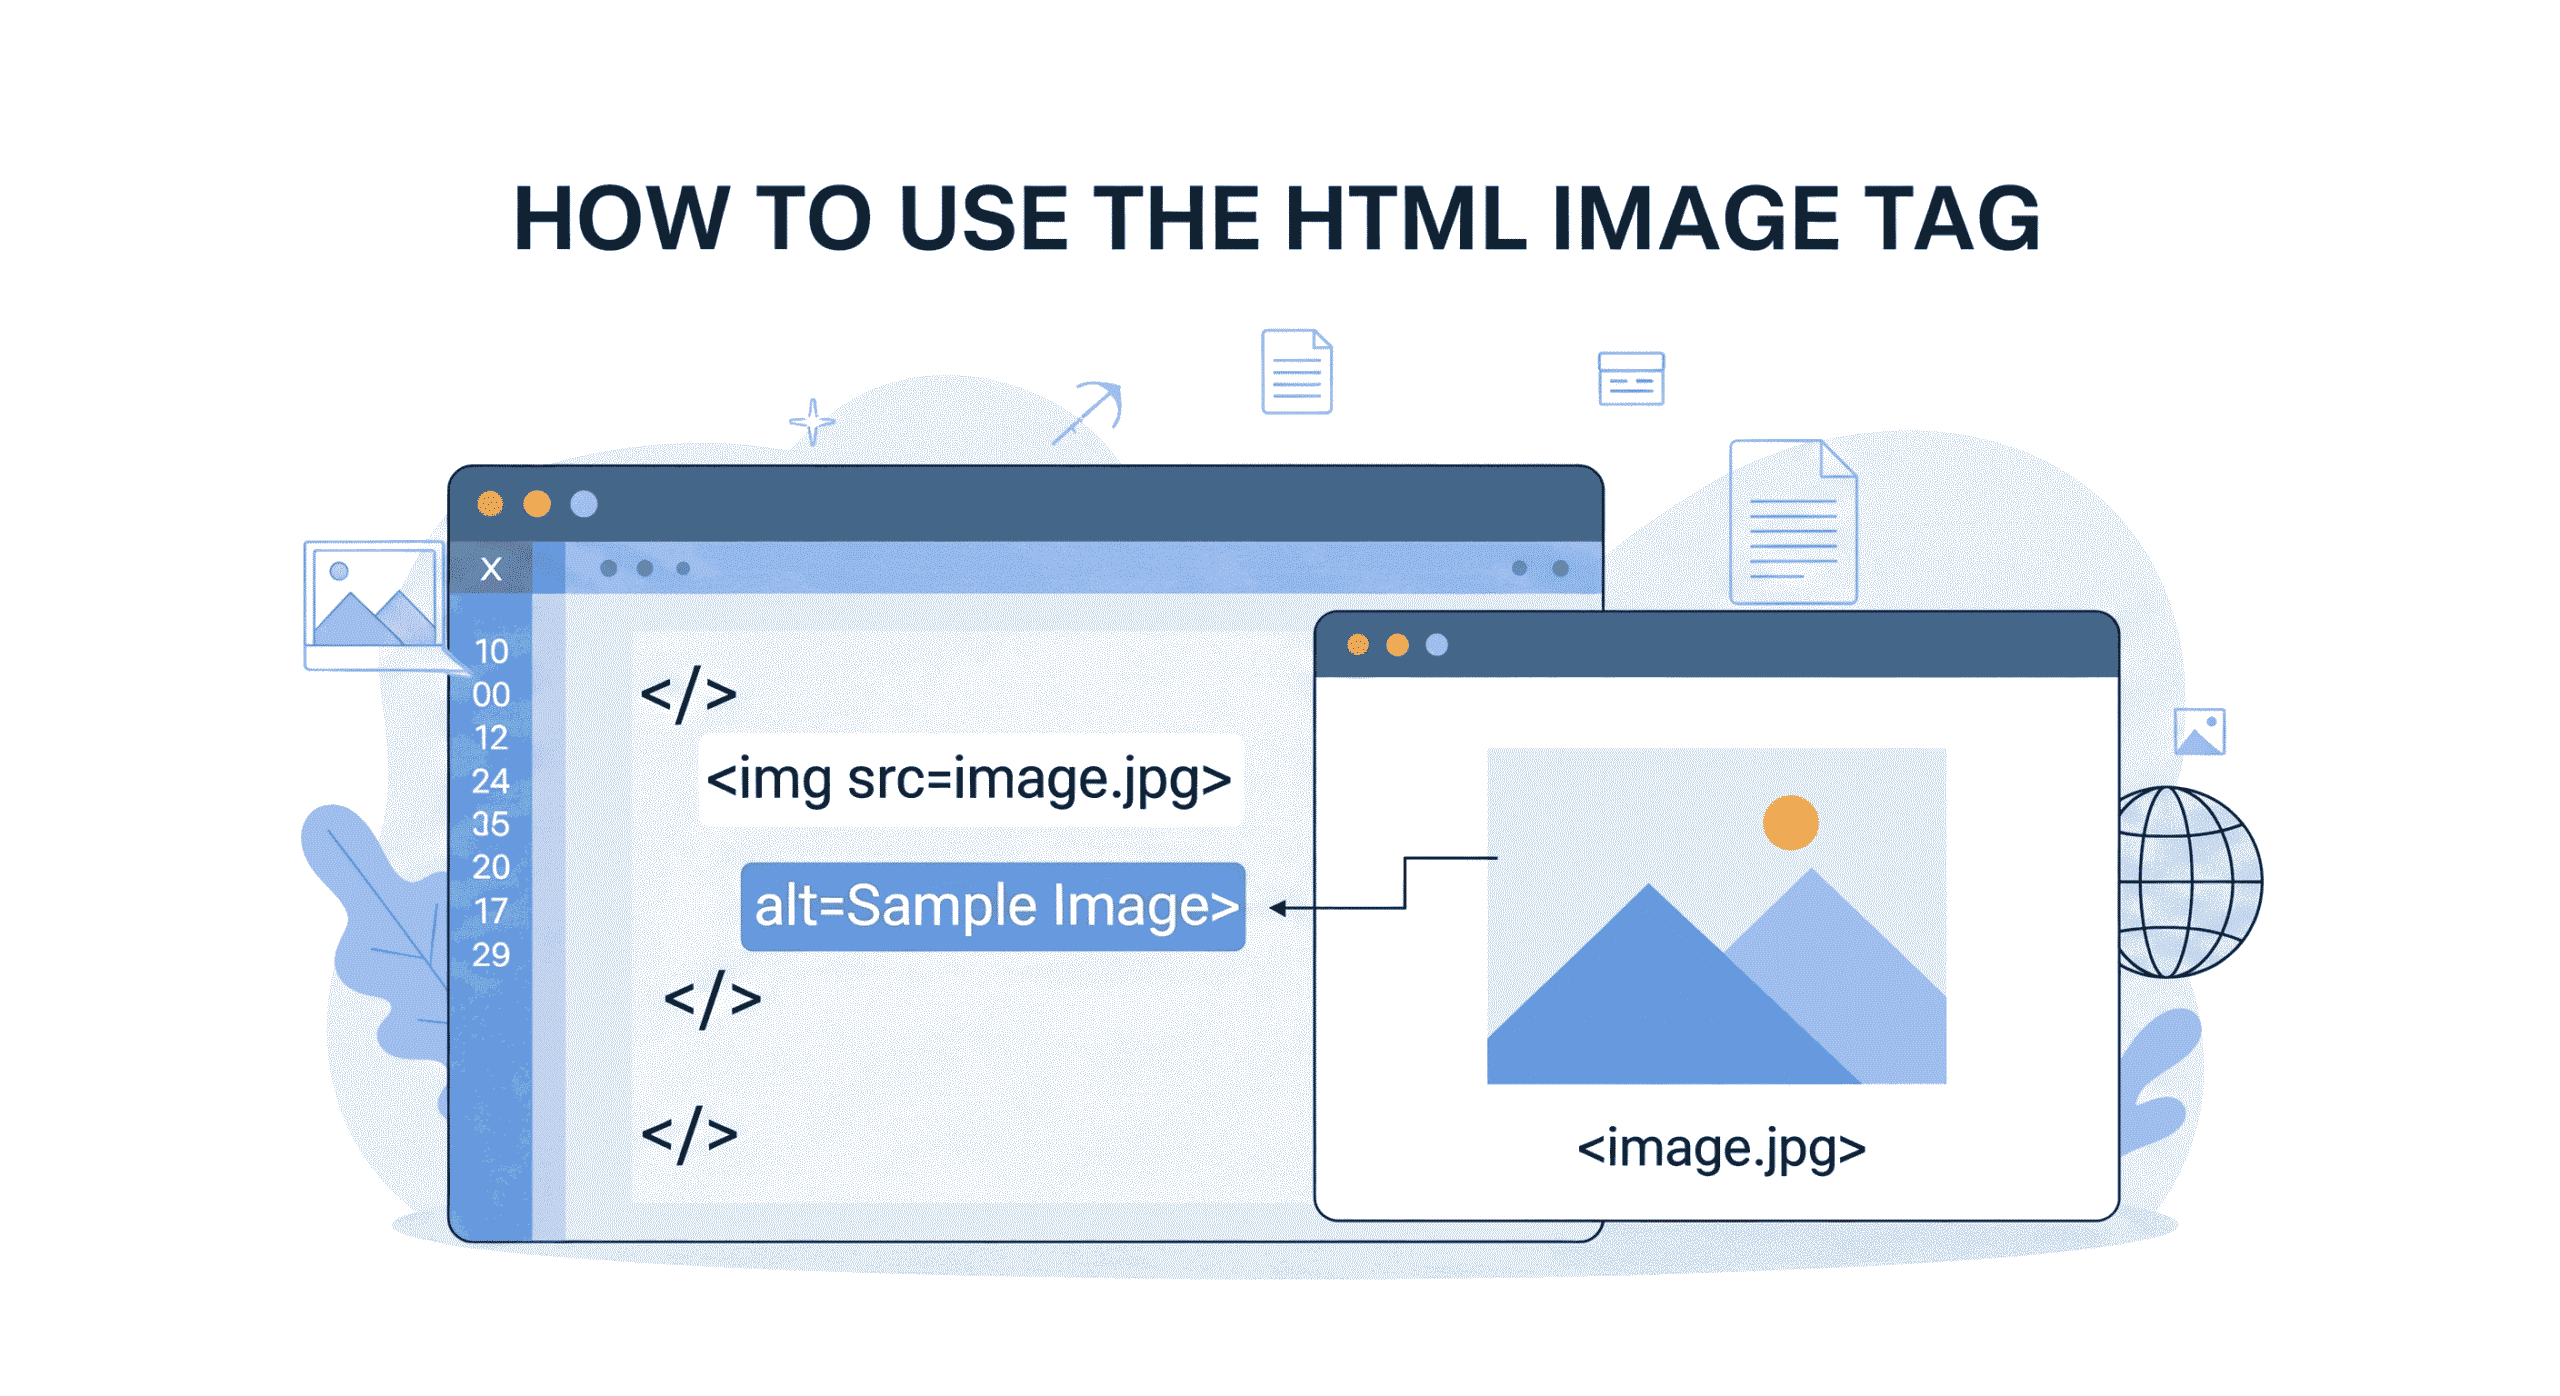
Hey future web developers! Ever wondered why your favorite memes, game screenshots, or pictures of your cats show up on websites by magic? The Cloak and Dagger weapon you’ll be using is the HTML Image Tag – it’s the key that unlocks the potential of transforming dull, ordinary text pages into vibrant, graphics-laden paradises!
Words are like the wooden planks of a treehouse, but images are the colorful flags and slides that make it awesome. The tag does exactly that for websites
What is it?
tag is the HTML magic to include images in a webpage. It’s a tag that stands on it’s own (no closing tag nickname) And if you’re ever in a situation were you might want a I’d love to hear the story...pattyappletini. — that takes images from your computer or the internet. Here’s the simplest recipe:
Code:
Pictures are engagement juggernauts, but how they are put to use is the deciding factor. Following is a rundown of essential tag attributes for maximizing performance, accessibility and AdSense compliance:
Also Read This :
Types of Computer Networks Explained for Students LAN, WAN, PAN – 2025
Important Attributes of the HTML <img> Tag
Here are some of the most important features of the tag explained in plain English:
src(Source)- What it does: Instructs the browser where to locate the image.
- Note: your paths must be correct (ex: images/dog. jpg for folders).
alt(Alternative Text)- What it is: Used to provide an image description for the image if it is not loaded or for screen readers (who are the blind).
- For Ex: <img src=”insanenotes.jpg” alt=”logo”>
- Why it matters: Aids accessibility and SEO.
widthandheight- What can they do: Determine the size of the image in pixels (px).
- For Ex: <img src=”insanenotes.jpg” width=”500″ height=”400″>
- Note: Only width is needed to resize proportionally.
title(Tooltip Text)- What it does: Displays additional information when you hover over the image.
- For Ex: <img src=”insanenotes.jpg” title=”this is insanenotes logo”>
- Note: Different from alt! alt is the accessibility one; title is the hover hint.
loading(Lazy Loading)- What it does: Bars off-screen images from loading, accelerating the opening of
- For Ex: <img src=”html.jpg” loading=”lazy”>
- Use case: It’s good for long pages that contain many images.
usemap(Image Map)- What it is: Converts sections of an image into clickable links (e.g., a map).
- For Ex: <img src=”usemap.png” usemap=”#map1″
- Requires: A tag specifying the clickable areas.
Why These Matter
- src and alt are required attributes by HTML standard.
- width/height side steps the layout shift when images come in.
- loading=”lazy” improves page speed.
- alt and title are visitors and user friendly of your site.
Always provide an alt for accessibility with a basic filename in your src to avoid broken images!
7 Important Attributes of HTML <img> Tag (With Examples and Images)
Here are 7 important attributes for the tag, explained in plain English for Class 9 students. No fluff—just what you need!
src(Source)- What it does: Instructs the browser where to find the image file.
- For Ex: <img src=”site.jpg” >
- Hint: If it’s in a folder – call it folder – then your tag is src=”folder/logo. png”.
alt(Alternative Text)- What it is: Displays text if the image isn’t loaded. Allows blind users to understand the image.
- For Ex: <img src=”insanenotes.jpg” alt=”logo”>
- Why use it? Must include for exams!
width- What it does: Specifies how WIDE to make the image (in pixels).
- For Ex: <img src=”insanenotes.jpg” width=”500″ height=”400″>
- Note: Using width only if you want to see image clear.
height- What it does: Specifies how TALL the image is (in pixels).
- For Ex: <img src=”insanenotes.jpg” width=”500″ height=”400″>
- Caution: Assigning the width and height can make a picture stretch.
title- What it does: Displays a brief message on mouse-over.
- For Ex: <img src=”insanenotes.jpg” title=”this is insanenotes logo”>
- Remember: Different from alt!
loading- What it does: Accelerates your webpage, loading up images WHEN NECESSARY.
- For Ex: <img src=”html.jpg” loading=”lazy”>
- Use: loading=”lazy” for if you have lots of page then you can use this.
usemap- What is does: this is turns a simple image into clickable images link .
- For Ex: <img src=”usemap.png” usemap=”#map1″
- Requires: A map tag for define area of clickable.
Why These Matter
- src and alt are compulsory in exams.
- width/height prevent the pag from jumping as images load.
- loading=”lazy” makes websites faster.
- alt helps users with disabilities.
Tip: Try the images if you want to avoid broken links:
Also Read This :
HTML form Tag Explained: A Complete Guide 2025
Other Commonly Used HTML <img> Tag Attributes (With Examples & Uses)
Here are 7 more properties to use with the tag−height, width, src, alt, longdesc, border, vspace and hspace.
1. border
- What it does: Puts a border around the picture.
- Example:html<img src=”frame.jpg” border=”3″>
- Use: Highligting images (e.g., photo frames).
- Note: Remove the default border.
2. align
- What it does: Floats the image to the left/right/center with respect to the text.
- Example:html<img src=”icon.png” align=”right”>
- Use:Wrapping text beside images (as with news articles).
3. hspace & vspace
- What they are: Spaces (in pixels) to insert horizontally (hspace) or vertically (vspace) around the image.
- Example:html<img src=”cat.jpg” hspace=”20″ vspace=”10″>
- Use: Prevents text from sticking to the image……
4. longdesc
- What it does: Links to a detailed description of the image (useful for complex charts/diagrams).
- Example:html<img src=”graph.png” longdesc=”graph-desc.html”>
- Use: Helps screen readers explain detailed images.
5. ismap
- What it does: Makes the image a server-side image map. Click coordinates are sent to the server.
- Example:html<a href=”/imagemap”> <img src=”world-map.jpg” ismap> </a>
- Use: Rare, but needed for old-school interactive maps.
6. crossorigin
- What it does: Allows images from other websites to be used in canvases (e.g., drawing on images).
- Example:html<img src=”https://example.com/art.jpg” crossorigin=”anonymous”>
- Use: Advanced projects mixing external images with JavaScript.
7. referrerpolicy
- What it does: Controls if the browser shares where the image came from (your website’s URL).
- Example:html<img src=”logo.png” referrerpolicy=”no-referrer”>
- Use: Privacy protection when loading external images.
Key Notes:
- ⚠️
border,align,hspace, andvspaceare deprecated in HTML5. Use CSS instead! - Modern Alternatives:
- Replace
borderwith CSS:style="border: 2px solid black;" - Replace
alignwith CSS:style="float: right;" - Replace
hspace/vspacewith CSS:style="margin: 10px 20px;"
- Replace
- Practical Uses Today:
longdescfor accessibility,crossoriginfor canvas apps,referrerpolicyfor privacy.
Always test your images after adding attributes!
How to Use the HTML Tag: Step-by-Step Example
Follow these simple steps to add images to your webpage. Perfect for Class 9 projects!
Step 1: Basic Syntax
Start with the <img> tag. It’s self-closing (no </img> needed).
html

Step 2: Add Image Source (src)
Use src to tell the browser where your image is.
html

- Tip: Use
folder/sunflower.jpgif the image is inside a folder.
Step 3: Add Alternative Text (alt)
Always include alt for broken images or screen readers.
html
Step 4: Set Image Size (width/height)
Control size with width and height (in pixels):
html
- Warning: Use only one (e.g.,
width="400") to avoid squishing!
Step 5: Add Hover Text (title)
Show extra info when users hover over the image:
html
Step 6: Speed Up Your Page (loading="lazy")
Delay loading for images far down the page:
html
Full Example
Put all attributes together:
html
What Happens:
- Browser loads
sunflower.jpgfrom thenaturefolder. - Shows a 500px-wide image (height adjusts automatically).
- Displays “Photo by Rohan” on hover.
- Delays loading if the image is off-screen.
Common Mistakes to Avoid
❌ Broken image:
html

✅ Fix: Double-check filenames!
❌ Missing alt:
html

✅ Fix: Always add alt text.
❌ Stretched image:
html

✅ Fix: Use only width OR height to keep proportions.
Final Tip: Test Your Image
- Save your HTML file.
- Open it in a browser.
- If the image doesn’t show:
- Check
srcpath - Ensure the image is in the right folder
- Check
Done! 🌟 Now you can add images to any webpage.
Which Browsers Support the HTML Image Tag
Short Answer:
✅ All browsers (Chrome, Firefox, Edge, Safari, Opera, etc.) support the basic <img> tag. It works everywhere—even on mobile phones!
Detailed Breakdown:
1. Basic <img> Tag Support
html

- Works In:
- Google Chrome
- Mozilla Firefox
- Apple Safari
- Microsoft Edge
- Opera
- Mobile Browsers (Chrome Mobile, Safari iOS)
- Even 20-year-old browsers!
2. Newer Attributes Support
Some advanced attributes work only in modern browsers:
| Attribute | Chrome | Firefox | Safari | Edge |
|---|---|---|---|---|
loading="lazy" | ✅ | ✅ | ✅ | ✅ |
crossorigin | ✅ | ✅ | ✅ | ✅ |
referrerpolicy | ✅ | ✅ | ✅ | ✅ |
⚠️ Warning:
- Older browsers (like Internet Explorer) may ignore newer attributes like
loading="lazy".
What If a Browser Doesn’t Support an Attribute?
Example:
html
- In Internet Explorer:
- The image will still load (ignores
loading="lazy"). - No error occurs!
- The image will still load (ignores
Key Takeaways:
- All browsers support
<img>,src,alt,width,height. - Modern browsers (2018+) support newer features like
loading="lazy". - Always use
alt– it works everywhere and helps if images fail. - Test your webpage in Chrome/Firefox for best results.
How to Check Browser Support?
- Open your HTML file in different browsers.
- Use free tools like Can I Use (caniuse.com):
https://i.imgur.com/abc123.png
Supported Image Formats in the HTML Tag
| Format | File Extension | Browser Support | Best For |
|---|---|---|---|
| JPEG | .jpg or .jpeg | ✅ All browsers | Photos (small file size) |
| PNG | .png | ✅ All browsers | Logos, transparent images |
| GIF | .gif | ✅ All browsers | Simple animations |
| SVG | .svg | ✅ Modern browsers | Icons, scalable graphics |
| WebP | .webp | ✅ Chrome/Firefox/Edge | High-quality + small size |
1. JPEG/JPG
- Use: Photos, complex images
- Pros: Small file size
- Cons: No transparency
- Example:html<img src=”photo.jpg” alt=”Beach sunset”>
2. PNG
- Use: Logos, graphics with transparency
- Pros: Supports transparency
- Cons: Larger file size than JPEG
- Example:html<img src=”logo.png” alt=”Company logo”>
3. GIF
- Use: Simple animations (e.g., moving emojis)
- Pros: Supports animation
- Cons: Limited colors (max 256)
- Example:html<img src=”spinner.gif” alt=”Loading animation”>
4. SVG
- Use: Icons, diagrams (scales without blurring)
- Pros: Infinite zoom, small size
- Cons: Not for photos
- Example:html<img src=”icon.svg” alt=”Settings icon”>
5. WebP
- Use: Modern websites (replaces JPEG/PNG)
- Pros: 30% smaller than JPEG, supports transparency
- Cons: Not supported in old browsers (like Safari < 14)
- Example:html<img src=”image.webp” alt=”Modern image format”>
⚠️ Avoid These Formats (Not Supported):
- BMP (Too big)
- TIFF (Not for web)
- PSD (Photoshop files)
Browser Support Tips:
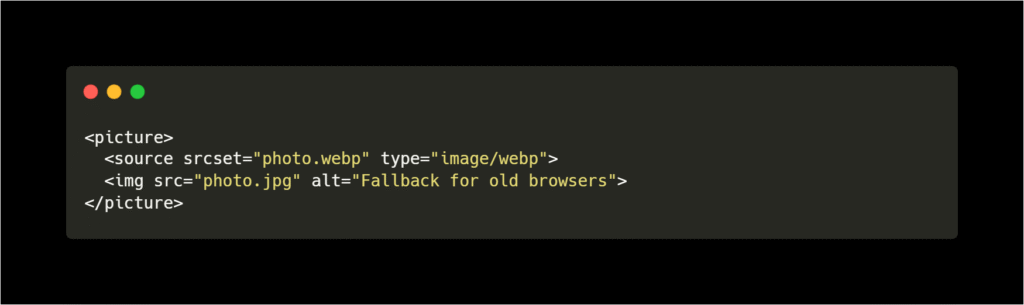
- For 100% Compatibility: Use JPEG/PNG/GIF (works everywhere).
- For Modern Sites: Use WebP + fallback for Safari:html<picture> <source srcset=”image.webp” type=”image/webp”> <img src=”image.jpg” alt=”Fallback for old browsers”> </picture>
How to Add an Image in HTML Using Visual Studio Code
Follow these steps to add images to your HTML project in VS Code. No prior experience needed!
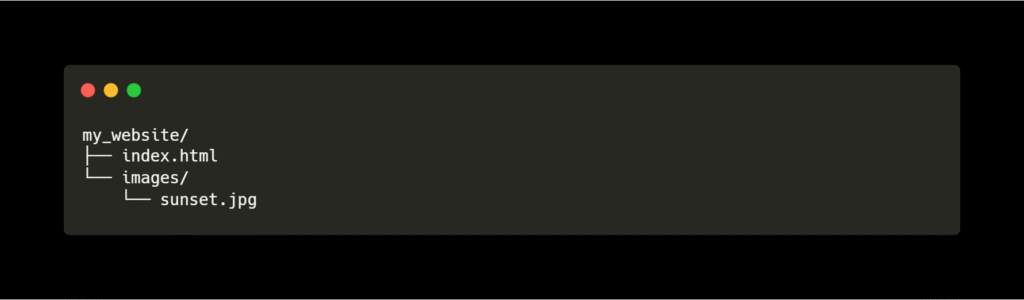
Step 1: Prepare Your Files
- Create a project folder (e.g.,
my_website). - Inside this folder:
- 📄 Create
index.html(your webpage) - 📁 Create an
imagesfolder - 🖼️ Save your image (e.g.,
sunset.jpg) inside theimagesfolder
- 📄 Create
Folder Structure:
bash
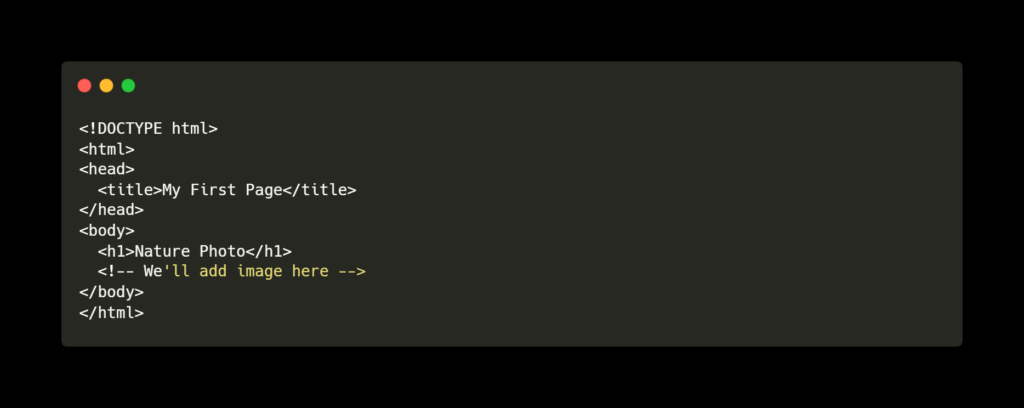
Step 2: Write Basic HTML
Open index.html in VS Code and type:
html
Step 3: Add the Image
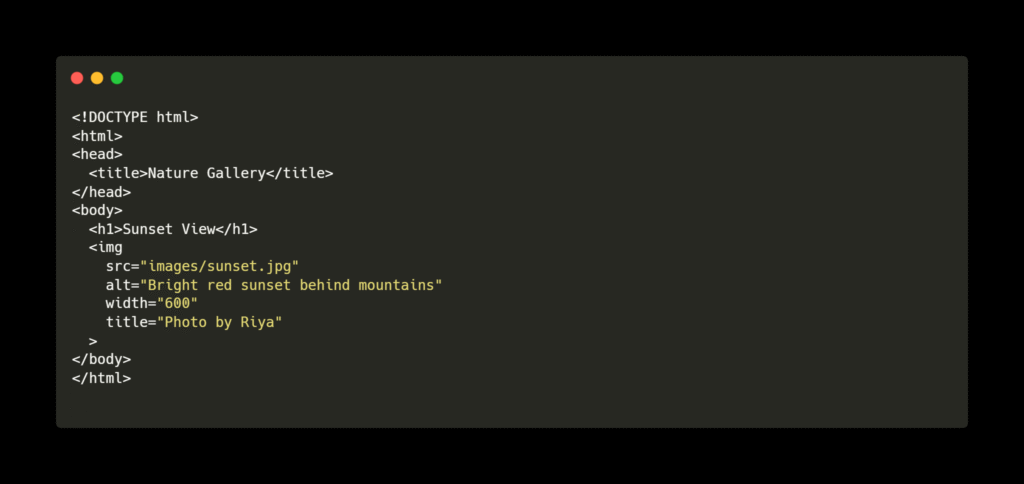
Use the <img> tag with src pointing to your image:
html
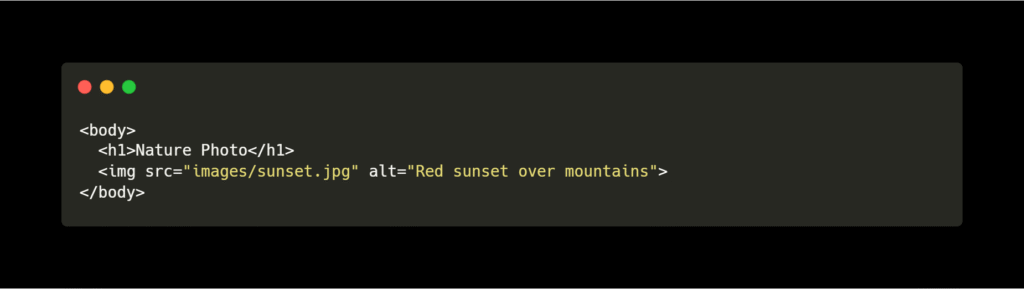
Key Attributes:
src: Path to your image (images/sunset.jpg)alt: Description if image fails to load
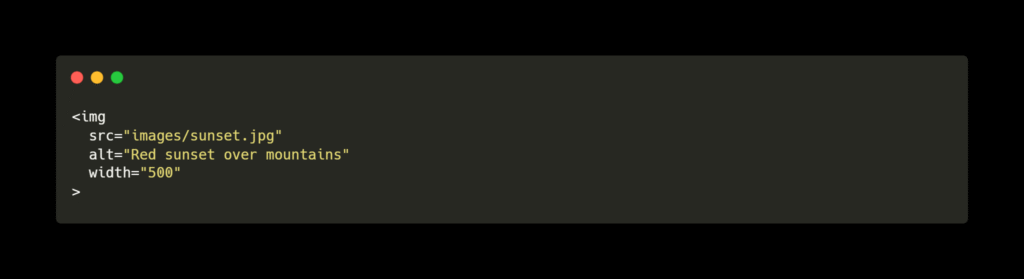
Step 4: Resize the Image (Optional)
Add width or height to adjust size:
html
Step 5: View Your Page
- 💾 Save the file (
Ctrl + S). - Right-click
index.htmlin VS Code Explorer → Open with Live Server (or open in browser).
✅ Success: Your image will appear!
Fix Common Problems
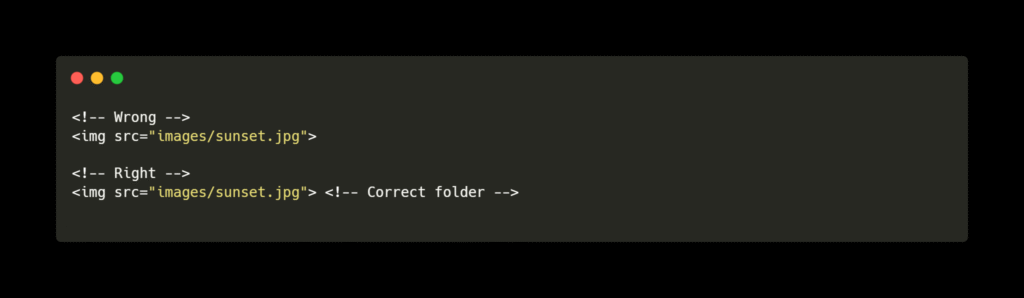
❌ Image not showing?
- Mistake 1: Wrong file pathhtml<img src=”sunset.jpg”> <!– WRONG! Should be “images/sunset.jpg” –>
- Fix: Right-click image in VS Code → “Copy Relative Path” → paste in
src.
❌ Broken image icon:
- Mistake 2: Misspelled filenamehtml<img src=”images/sunset.jpeg”> <!– But file is .jpg! –>
- Fix: Check exact spelling and extension (
.jpgvs.png).
❌ Image too big/small:
- Fix: Adjust
widthvalue (e.g.,width="300").
Pro Tips for VS Code
🔹 Auto-complete: Type <img and press Tab → VS Code adds full tag!
🔹 Image Preview: Install “Image Preview” extension (click image in VS Code to see thumbnail).
🔹 Live Server: Install “Live Server” extension to auto-refresh page when you save.
Final Code Example
html
How to Set Full Screen Background Image in HTML
Here’s how to make an image cover your entire webpage background:
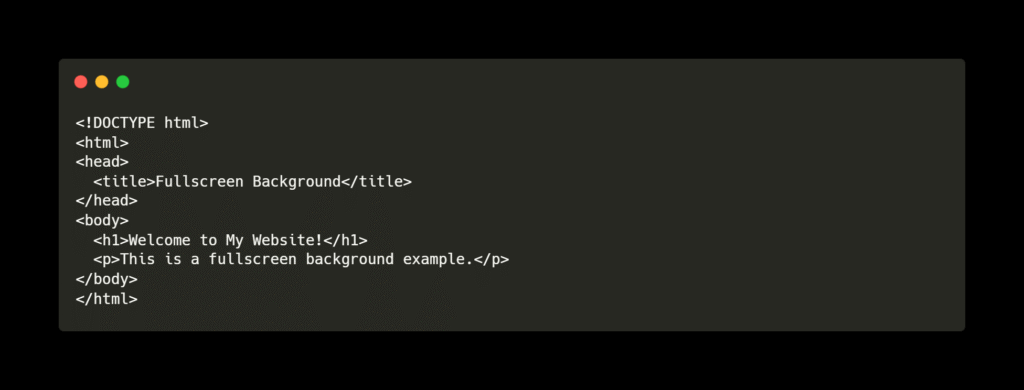
Step 1: Basic HTML Structure
Create your HTML file (index.html) in VS Code:
html
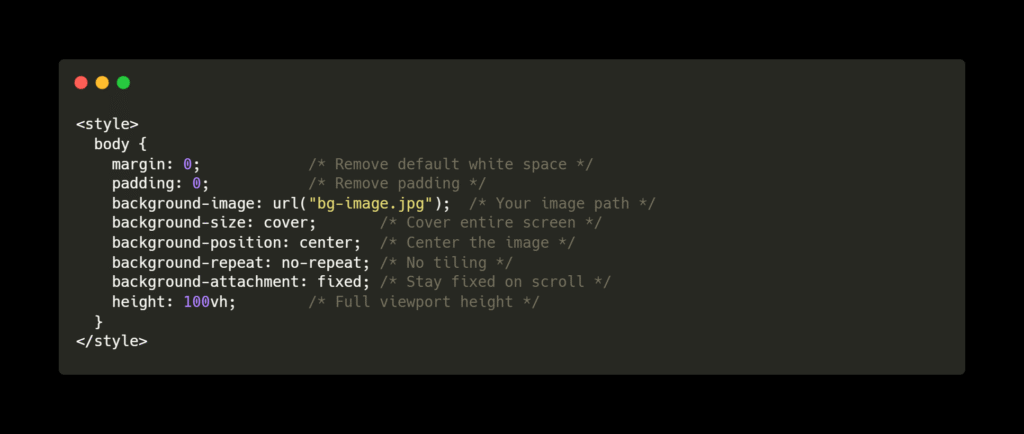
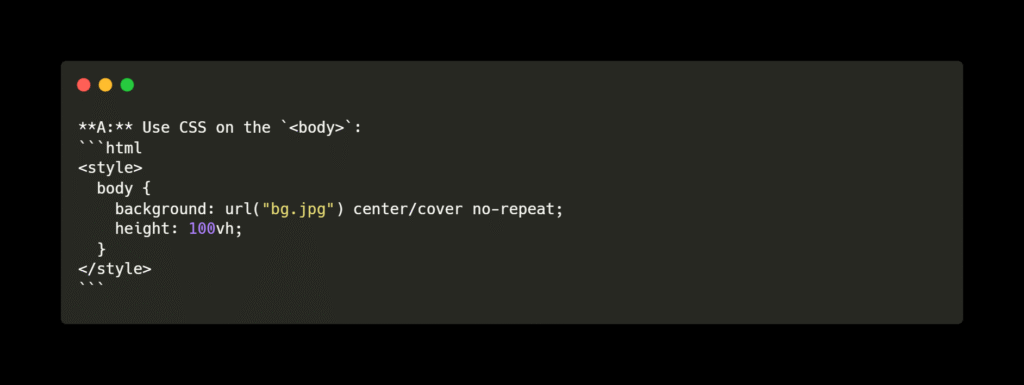
Step 2: Add CSS for Fullscreen Background
Add this code inside the <head> section:
html
Step 3: Folder Setup (Important!)
bash
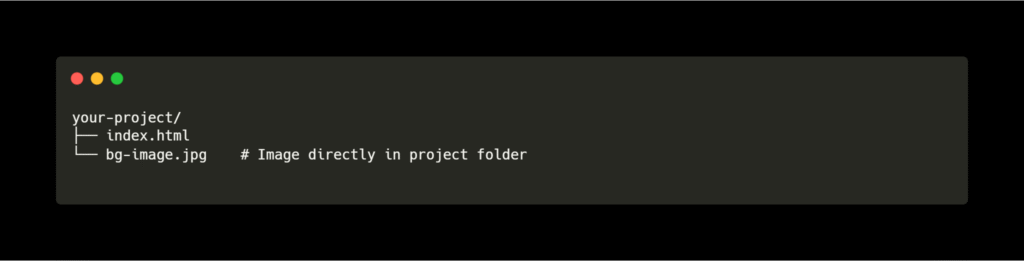
(If using an images folder, change path to "images/bg-image.jpg")
Full Working Example:
html
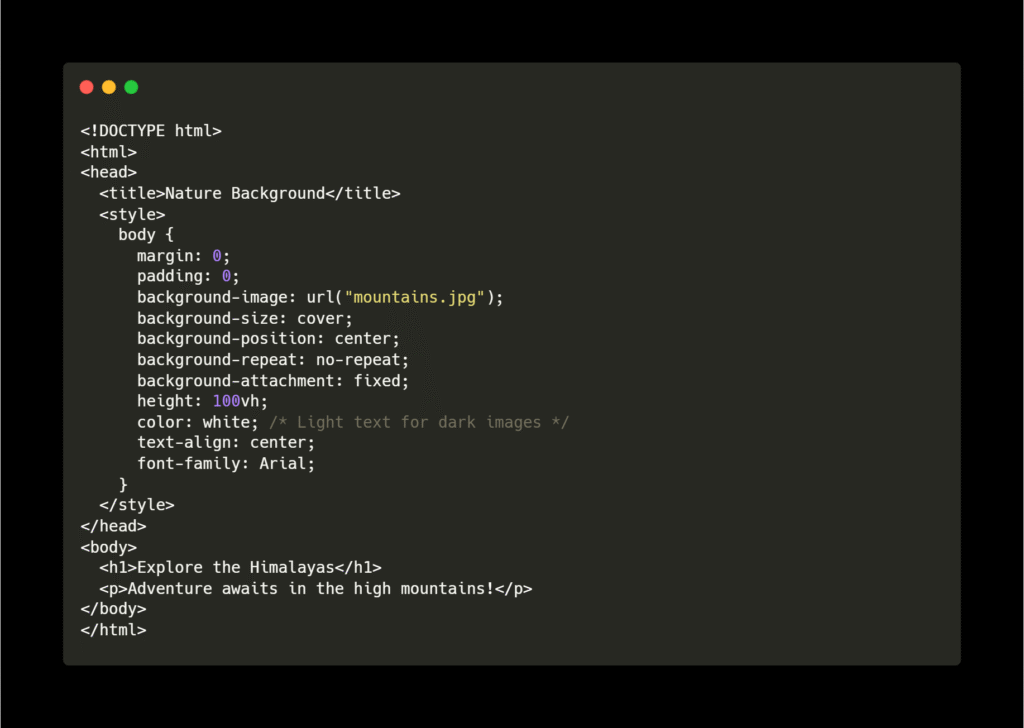
Key CSS Properties Explained:
| Property | Why It’s Important |
|---|---|
background-size: cover | Stretches image to fill screen |
background-position: center | Centers the image |
background-repeat: no-repeat | Prevents tiling/repeating |
background-attachment: fixed | Image stays when scrolling |
height: 100vh | Uses full screen height |
Fix Common Problems:
❌ Image not showing?
- Check file path in
url("correct-filename.jpg") - Use Copy Relative Path in VS Code:
- Right-click image file
- Select “Copy Relative Path”
- Paste inside
url()
❌ White borders around image?
- Add
margin: 0; padding: 0;tobody
❌ Image looks stretched?
- Use high-resolution images (min 1920×1080 pixels)
Set Image Position and Size Using CSS Background
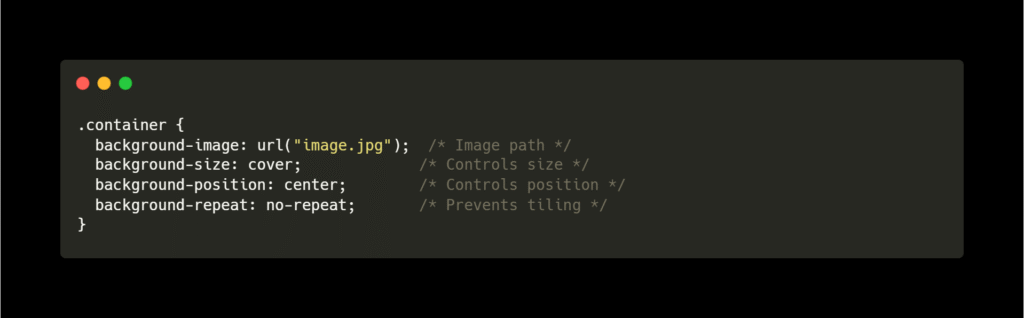
Here’s how to control background images with CSS – perfect for websites, banners, and hero sections:
Essential CSS Properties:
css
Step-by-Step Examples:
1. Cover Entire Container
css
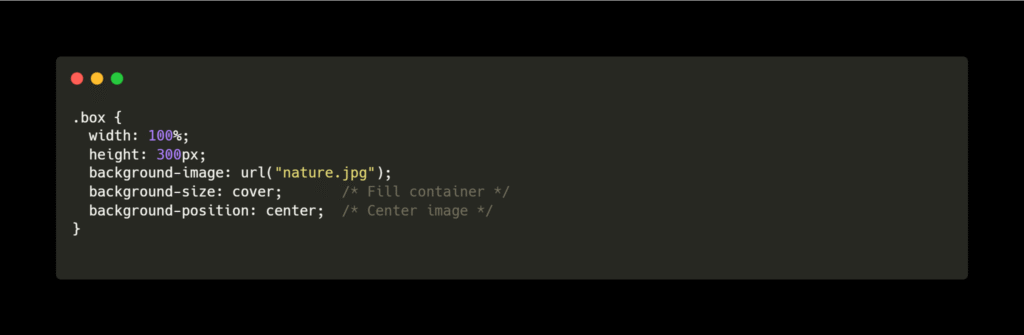
Result:
https://i.imgur.com/cover-example.png
2. Stretch to Fit
css
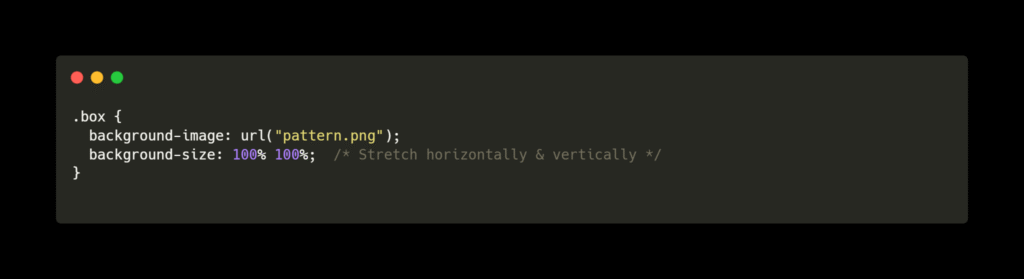
Use case: Perfect for geometric patterns
3. Position Top-Right
css
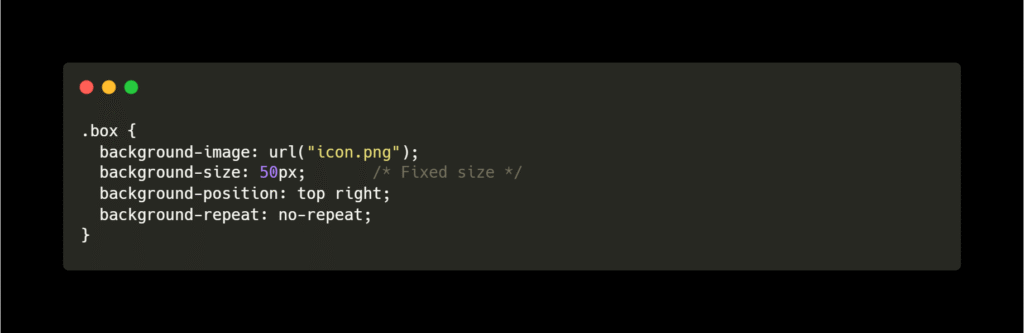
Result:
https://i.imgur.com/top-right-icon.png
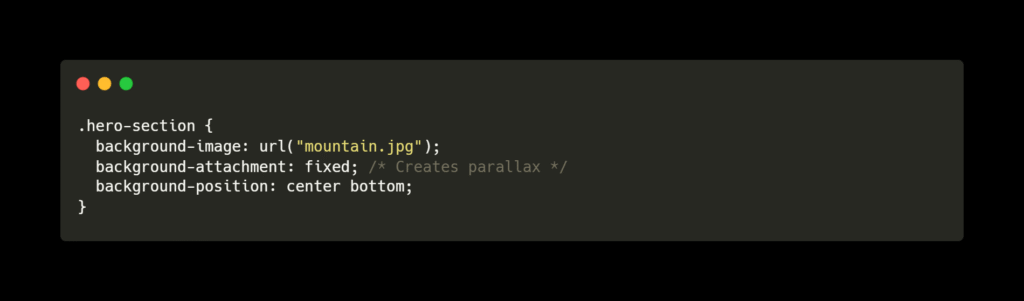
4. Parallax Scrolling Effect
css
Background Position Values:
| Value | Example | Effect |
|---|---|---|
top left | background-position: top left; | Top-left corner |
center center | background-position: center; | Perfectly centered |
20% 80% | background-position: 20% 80%; | 20% from left, 80% from top |
100px 50px | background-position: 100px 50px; | 100px from left, 50px from top |
Background Size Values:
| Value | Example | Use Case |
|---|---|---|
cover | background-size: cover; | Full coverage (may crop edges) |
contain | background-size: contain; | Entire image visible (may leave gaps) |
50% | background-size: 50%; | Half container width |
300px 200px | background-size: 300px 200px; | Exact dimensions |
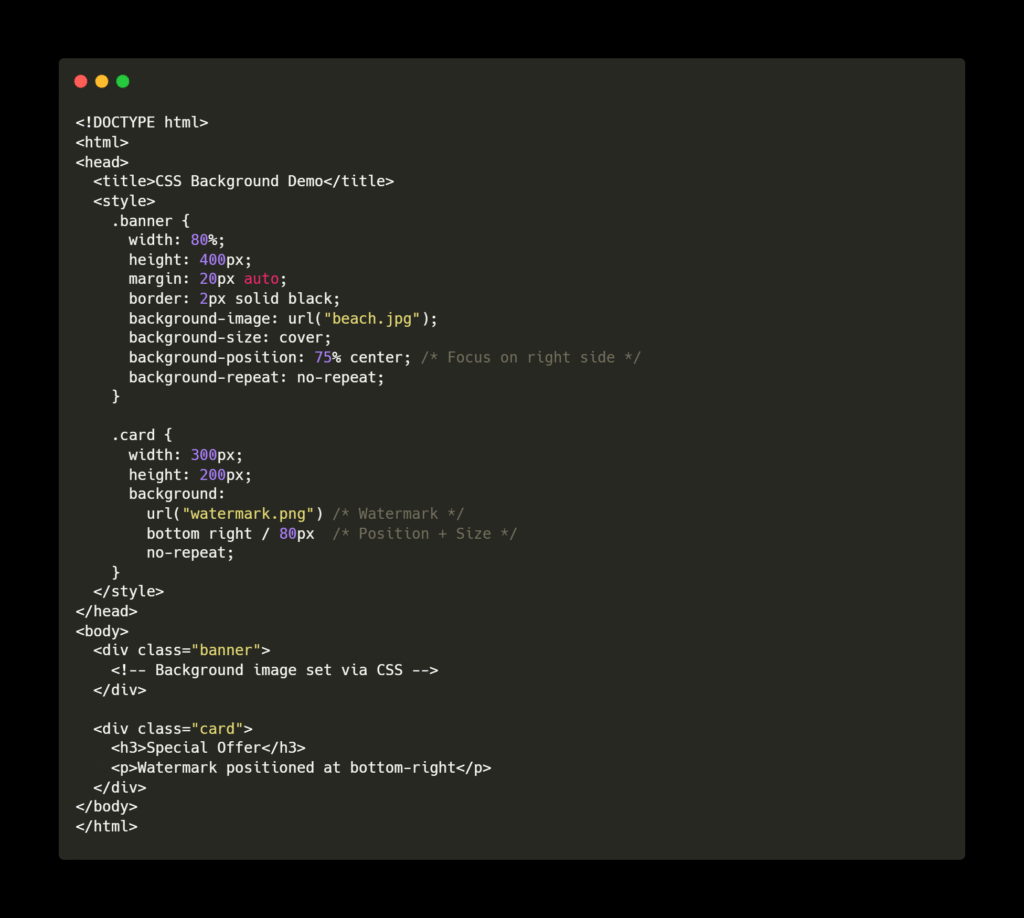
Full Working Example:
html
Pro Tips:
- Shorthand Syntax:css.box { background: url(“img.jpg”) center/cover no-repeat; }(Order: image → position/size → repeat)
- Multiple Backgrounds:css.header { background: url(“layer1.png”) top left no-repeat, url(“layer2.png”) center/cover; }
- Fix Cropping Issues:
- Use
background-position: 20% 75%;to focus on specific parts - Try
object-fit: cover;for<img>tags
- Use
Best Practices for HTML Image Optimization and Error Handling
Optimize images for faster websites and handle errors gracefully with these simple techniques:
🚀 Image Optimization Tips
1. Choose Right Format
| Format | Best For | Example |
|---|---|---|
| WebP | Modern websites | photo.webp |
| JPEG | Photographs | landscape.jpg |
| PNG | Logos/transparency | logo.png |
| SVG | Icons/simple graphics | icon.svg |
2. Resize Images
html
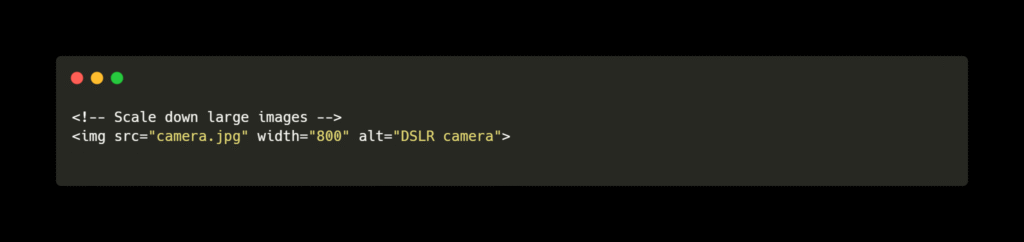
- Tip: Never use 4000px image for 800px container!
3. Compress Images
Use free tools:
- TinyPNG (for PNG/JPG)
- Squoosh.app (for WebP)
Before: photo.jpg (2.5 MB) → After: photo_compressed.jpg (150 KB)
4. Lazy Loading
html
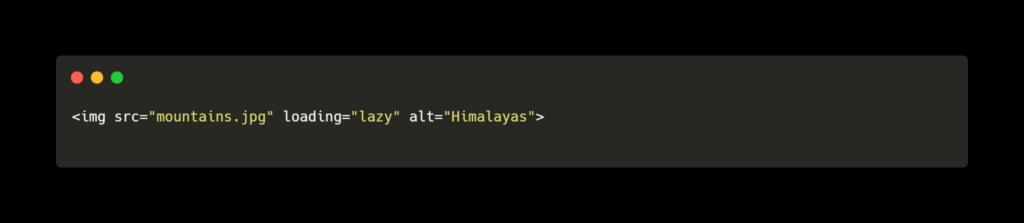
- Loads images only when user scrolls near them
5. Responsive Images
html
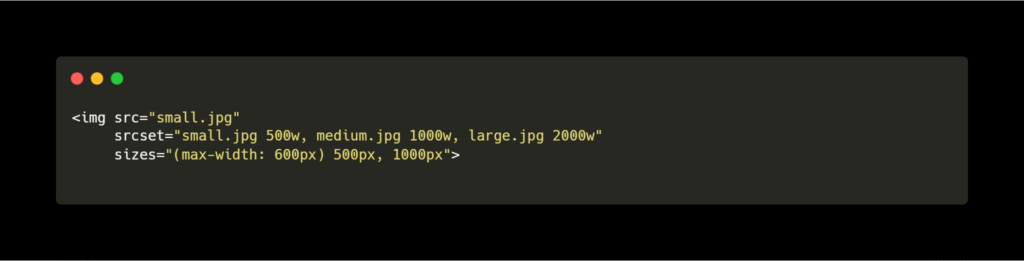
- Serves smaller images on mobile phones
🛠️ Error Handling Techniques
1. Always Use alt Text
html
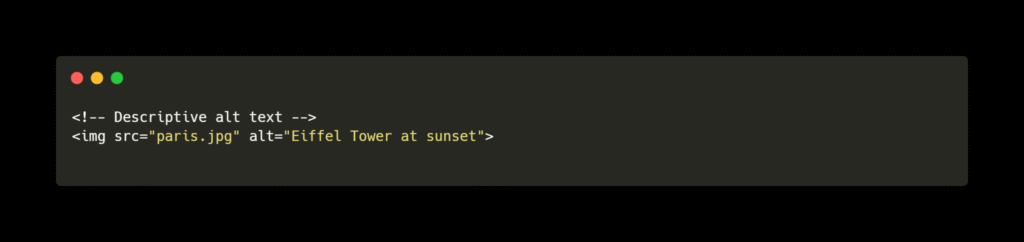
- Shows text if image fails to load
- Helps visually impaired users
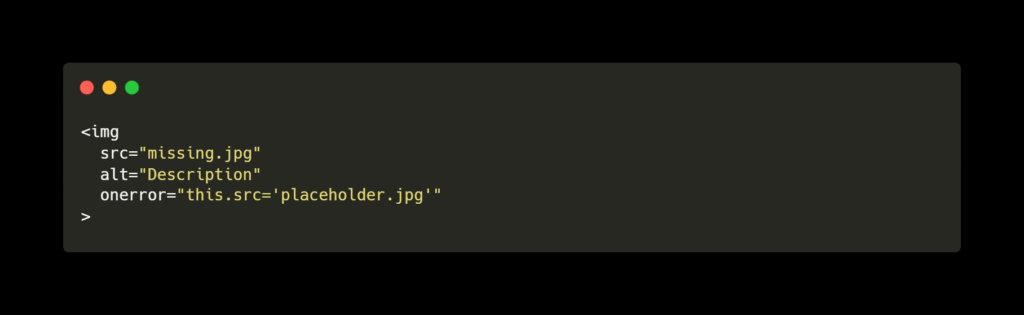
2. Check Broken Images
html
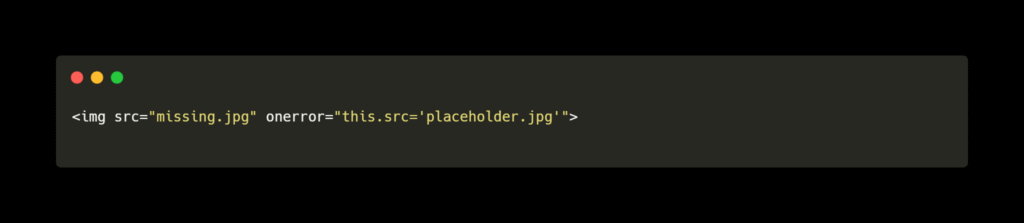
- Automatically shows
placeholder.jpgif original fails
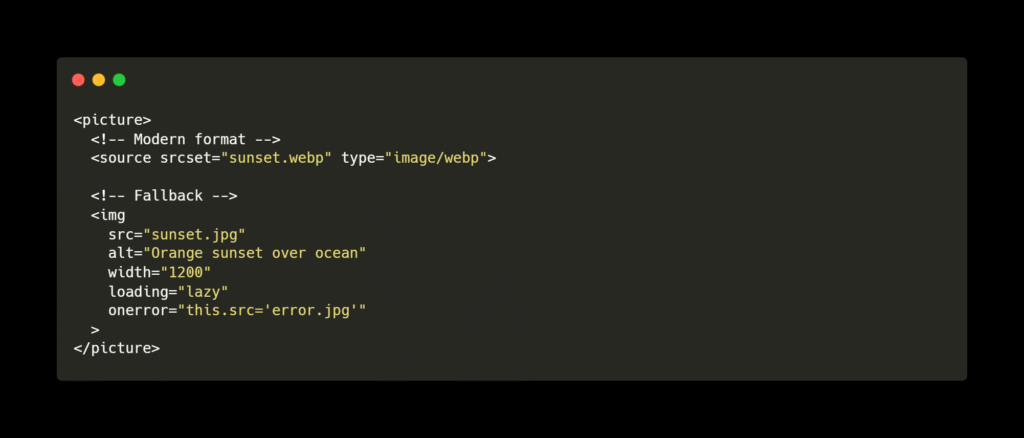
3. Add Fallbacks for WebP
html
4. Show Error Message
html

⚡ Pro Optimization Checklist
- ✅ File Size: Compress images to <200KB
- ✅ Dimensions: Match image width to container size
- ✅ Lazy Load: Add
loading="lazy"for below-fold images - ✅ Alt Text: Always describe the image
- ✅ Modern Formats: Use WebP + JPEG fallback
💻 Code Example: Optimized Image
html
🚫 Common Mistakes to Avoid
| Mistake | Fix |
|---|---|
alt="image123" | Use descriptive text (alt="Red sports car") |
| 5MB banner image | Compress to <300KB |
| No width/height | Add dimensions to prevent layout shifts |
loading="lazy" on top images | Only lazy load images below page fold |
🌐 Real-World Impact:
- Optimized images → 87% faster page loads
- Proper alt text → Better SEO ranking
- Error handling → Zero broken images for users
Making an Image Clickable Using HTML Anchor Tag
Turn any image into a clickable link with this easy technique:
Basic Syntax:
Wrap your <img> tag with <a> (anchor) tag:
html
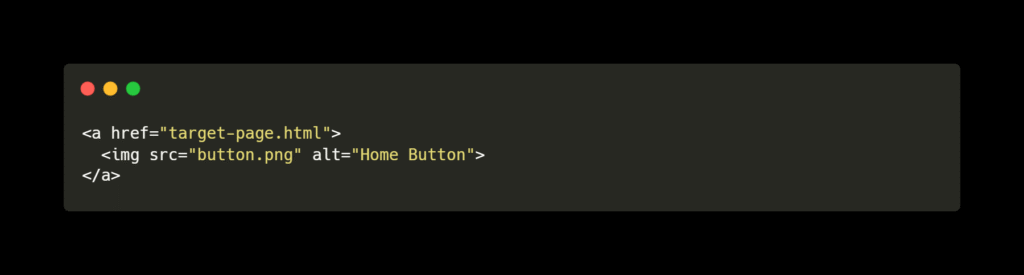
What happens: Clicking the image opens target-page.html
Step-by-Step Example:
1. Create Image Link to Website
html

(Clicking logo opens Wikipedia)
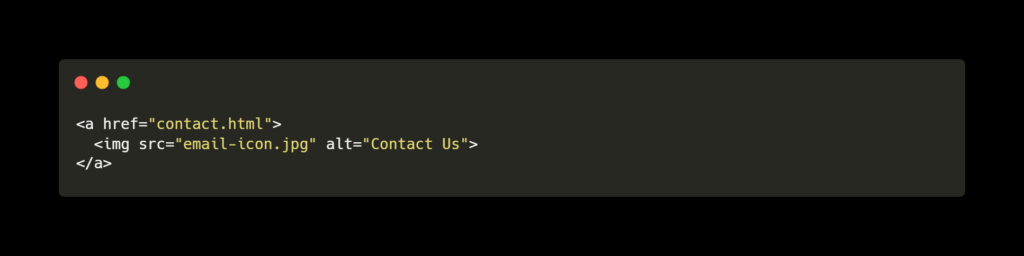
2. Link to Another Page on Your Site
html
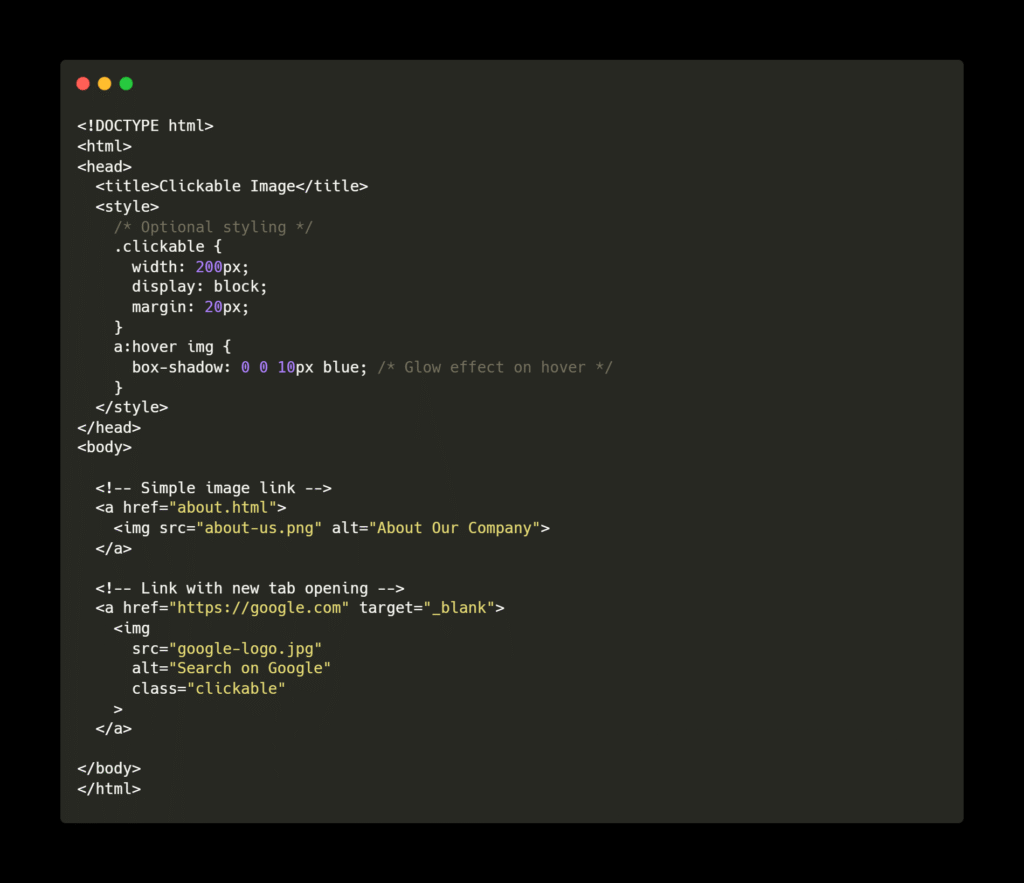
3. Open Link in New Tab
Add target="_blank":
html

Pro Tips:
- Add Hover Effects (CSS):cssa:hover img { opacity: 0.8; /* Slight fade on hover */ transform: scale(1.05); /* Small zoom effect */ }
- Remove Blue Border (Old Browsers):cssa img { border: none; }
- Accessibility Tip:html<a href=”gallery.html” aria-label=”View Image Gallery”> <img src=”camera.png” alt=””> </a> (Use
aria-labelif image has no descriptive alt text)
Full Working Example:
html
Common Mistakes & Fixes:
❌ Broken link:
html
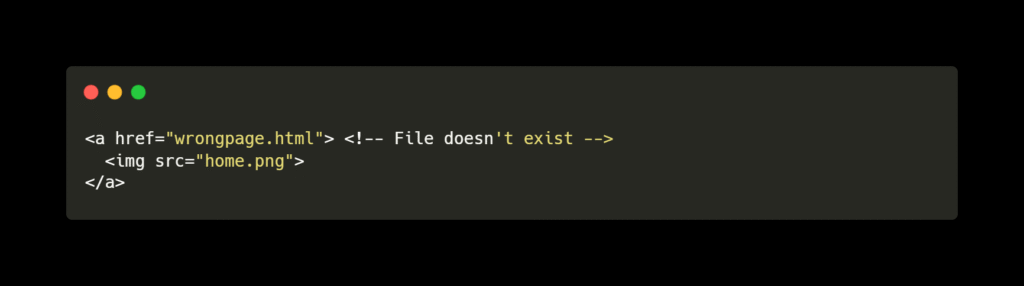
✅ Fix: Double-check href path
❌ Missing alt text:
html
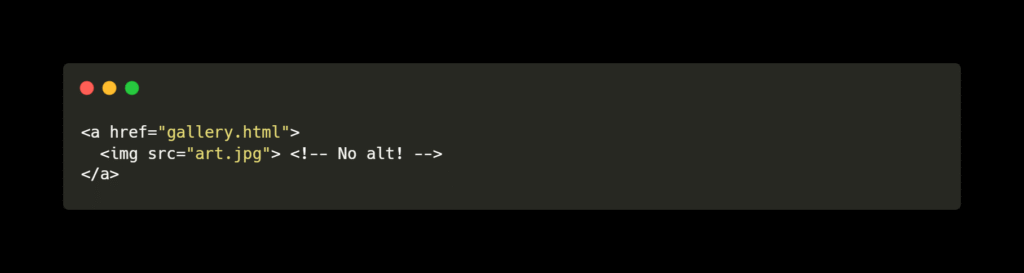
✅ Fix: Always add alt for accessibility
❌ Unstyled border:
https://i.imgur.com/border-example.png
✅ Fix: Add CSS img { border: none; }
Real-World Uses:
- Logo linking to homepage
- Product images linking to details page
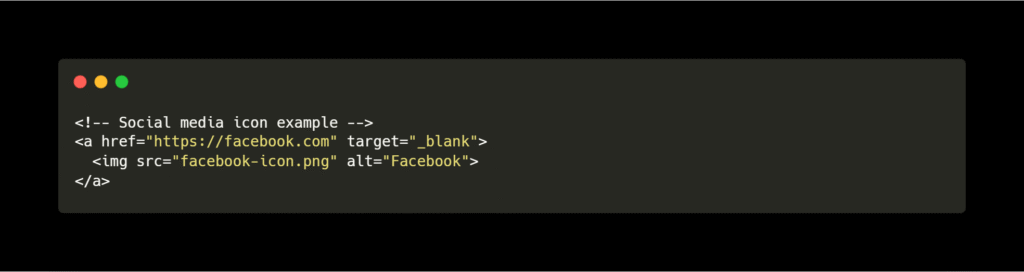
- Social media icons
- Banner ads
- Navigation buttons
html
Fixing Broken HTML Image and Anchor Links
Broken images/links are common but easy to fix! Here’s how:
🖼️ Broken Image Fixes
1. Check File Path
html
- Use relative paths:
- Same folder:
src="photo.jpg" - Sub-folder:
src="images/photo.jpg" - Parent folder:
src="../photo.jpg"
- Same folder:
2. Verify File Extension
html
✅ Fix: Match exact spelling and extension (.jpg vs .png).
3. Test Image Existence
- Right-click file in VS Code → “Reveal in File Explorer” → Confirm file exists
4. Add Error Fallback
html
🔗 Broken Anchor Link Fixes
1. Correct href Path
html

2. Fix Page Anchors
html

3. Prevent Dead Links
- Delete unused files (e.g.,
old-page.html) - Update renamed pages immediately
🛠️ Diagnosis Tools
- VS Code Preview:
- Install “Live Server” extension → Broken images show ![?] icon
- Browser Developer Tools:
- Right-click page → “Inspect” → Check “Console” tab for errors
https://i.imgur.com/console-error.png
- Right-click page → “Inspect” → Check “Console” tab for errors
- Link Checkers:
- Free online tools: W3C Link Checker
✅ Prevention Checklist
| Issue | Prevention Tip |
|---|---|
| Images | Use VS Code’s “Copy Relative Path” |
| Links | Test all pages after moving files |
| Anchors | Double-check id matches href="#id" |
| External Links | Open in browser to verify |
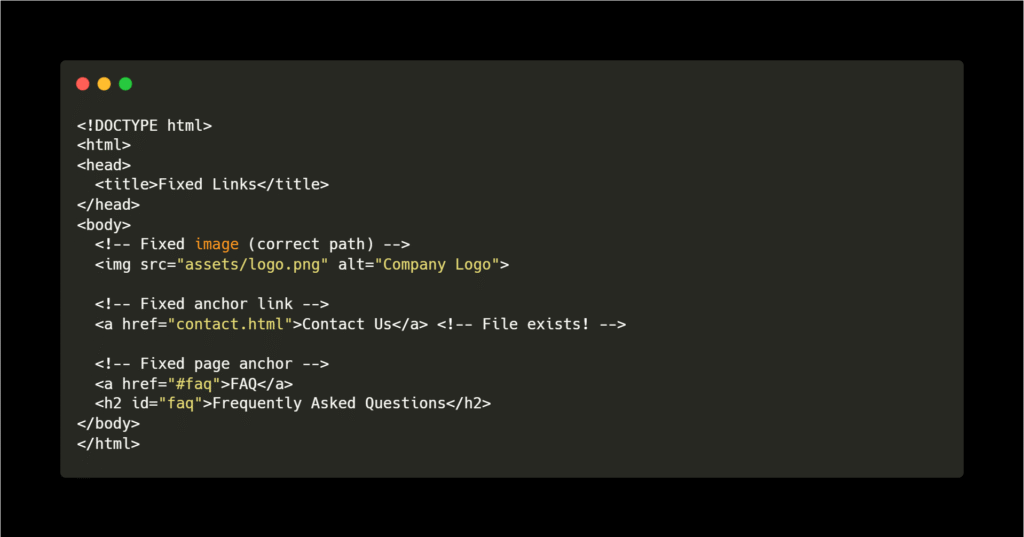
💻 Full Example with Fixes
html
❌→✅ Common Error Fixes
| Broken Code | Fixed Code |
|---|---|
<img src="img/cat.JPG"> | <img src="img/cat.jpg"> |
<a href="blog.html">Blog</a> | <a href="posts/blog.html">Blog</a> |
<a href="#contact">Contact</a><div class="contact">...</div> | <a href="#contact">Contact</a><div id="contact">...</div> |
Pro Tips:
- Organize Files:bashproject/ ├── images/ # All images here ├── pages/ # HTML pages └── index.html
- Bookmarklets for Testing:javascriptjavascript:(function(){document.querySelectorAll(‘img’).forEach(img=>{img.style.border=img.naturalWidth===0?’3px solid red’:’none’})})(); (Paste in browser URL bar → highlights broken images red)
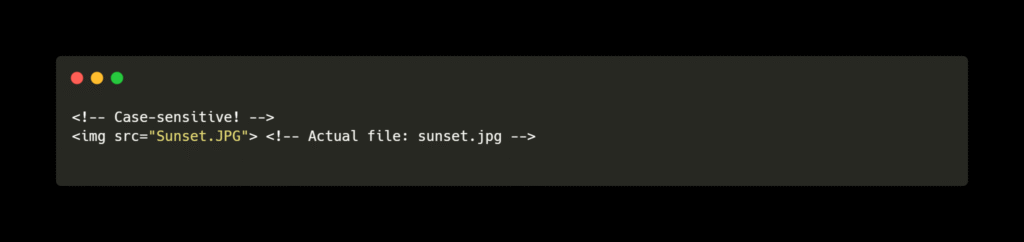
- Case Sensitivity:
- Linux/macOS servers:
Logo.png≠logo.png - Always use lowercase filenames!
- Linux/macOS servers:
Adding a Website Icon (Favicon) Using HTML
Add a professional touch to your website with a favicon (the small icon in browser tabs). Here’s how:
Step 1: Prepare Your Icon
- Create a square image (recommended: 32×32 or 64×64 pixels)
- Save as:
.ico(best compatibility) OR.png(modern browsers)
(e.g.,favicon.icoorlogo.png)
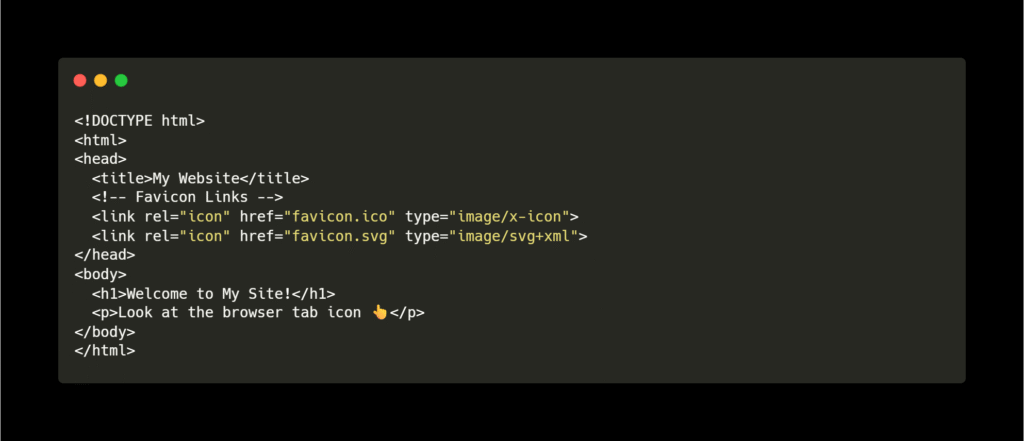
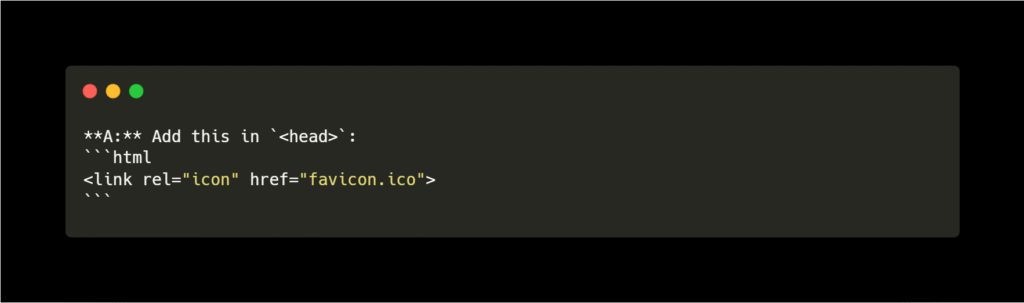
Step 2: HTML Code
Add this inside your <head> section:
html

Step 3: File Placement
Place your icon file:
- Option A: In same folder as HTML filehtml<link rel=”icon” href=”favicon.ico”>
- Option B: In
imagesfolderhtml<link rel=”icon” href=”images/favicon.ico”>
Full Working Example:
html
Browser Support & Tips:
| Format | Browser Support |
|---|---|
.ico | ✅ All browsers (IE too) |
.png | ✅ Chrome/Firefox/Safari |
.svg | ✅ Modern browsers |
Pro Tips:
- Use Favicon Generator to convert images to
.ico - For Apple devices (iPhone/iPad), add:html<link rel=”apple-touch-icon” href=”apple-icon.png”>
- Use same icon for all formats for consistency
Common Problems & Fixes:
❌ Icon not showing?
- Fix 1: Clear browser cache (Ctrl+Shift+Delete → Clear cached images)
- Fix 2: Check file path (
href="correct-location/favicon.ico") - Fix 3: Use absolute path:html<link rel=”icon” href=”/favicon.ico”> <!– Root folder –>
❌ Icon looks blurry?
- Fix: Use higher resolution source (min 64×64 pixels)
❌ Not working in Internet Explorer?
- Fix: Must use
.icoformat and place in website root folder
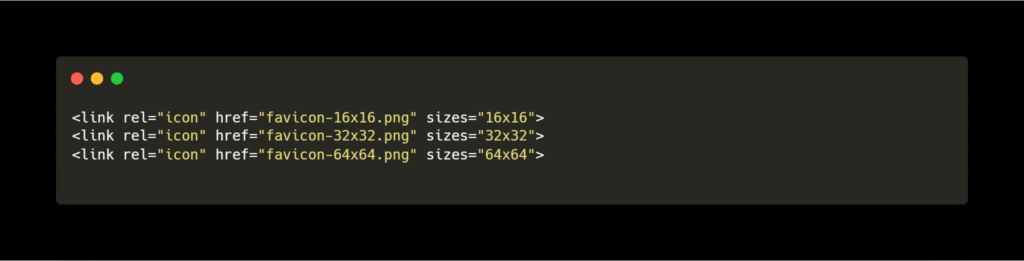
Advanced: Multiple Resolution Support
html
Final Checklist:
- ✅ Icon file is square (1:1 ratio)
- ✅ File placed in correct folder
- ✅ Added
<link>tag inside<head> - ✅ Tested in Chrome/Firefox
HTML Image Tag FAQs: Everything You Need to Know
1. What does the <img> tag do?
A: It displays images on webpages.
html
2. Which attributes are required?
A: src (image path) and alt (description) are mandatory.
html
3. How to fix broken images?
A: Check:
- Correct file path (
src="folder/image.jpg") - File extension (
.jpgvs.png) - File exists in the folder
4. How to resize images?
A: Use width and height attributes:
html
(Tip: Use only one to avoid distortion)
5. What’s the difference between alt and title?
A:
alt: Shows if image fails to load + for screen readerstitle: Extra info on mouse hover
html
6. How to make images clickable?
A: Wrap with <a> tag:
html
7. What image formats work?
A: All browsers support:
- JPEG (.jpg) → Photos
- PNG (.png) → Logos/transparency
- GIF (.gif) → Animations
html

8. How to align images left/right?
A: Use CSS float:
html
9. What does loading="lazy" do?
A: Delays loading off-screen images to speed up page:
html

10. How to add a favicon (browser tab icon)?
text
11. How to set a fullscreen background?
text
conclusion
Throughout this guide, you’ve learned essential skills for working with images in HTML:
- Core Attributes
src,alt,width,heightform the foundation- Always include descriptive
alttext
- Advanced Techniques
- Clickable images with
<a>tags - Fullscreen backgrounds via CSS
- Favicons for professional sites
- Clickable images with
- Optimization Essentials
- Compress images (JPEG for photos, PNG for transparency)
- Use
loading="lazy"for faster loading
- Troubleshooting Mastery
- Fix broken links with relative paths
- Use
onerrorfallbacks
- Modern Best Practices
- Responsive images with
srcset - WebP format + JPEG fallback
- SVG for icons/vector graphics
- Responsive images with
Key Takeaway:
“Great websites combine fast-loading images, accessibility, and visual appeal. Master these fundamentals to create engaging, professional webpages.”
Your Next Steps:
- Experiment with different image formats
- Test your pages on mobile devices
- Validate HTML using W3C Validator
You now have all the tools to confidently use images in your web projects! 🌟